
You all know I love my art room. I have lots of natural light and all my favorite things around me. However, because it does not have a closet, I have had to store fabric and other craft/art supplies in the basement which makes for a lot back and forth when I want to start a new project. (I had open shelves with some craft supplies on them, but this is not a good solution for fabric because of sun fade). Out-of-sight basement storage also means I sometimes forget what I have available or don’t have something inspiring within reach when I need the inspiration.
I recently found a large 1930s/1940s wooden dresser for sale on Facebook Marketplace. It was in good condition, a good price, and close by. I knew right away that I wanted it for fabric storage!
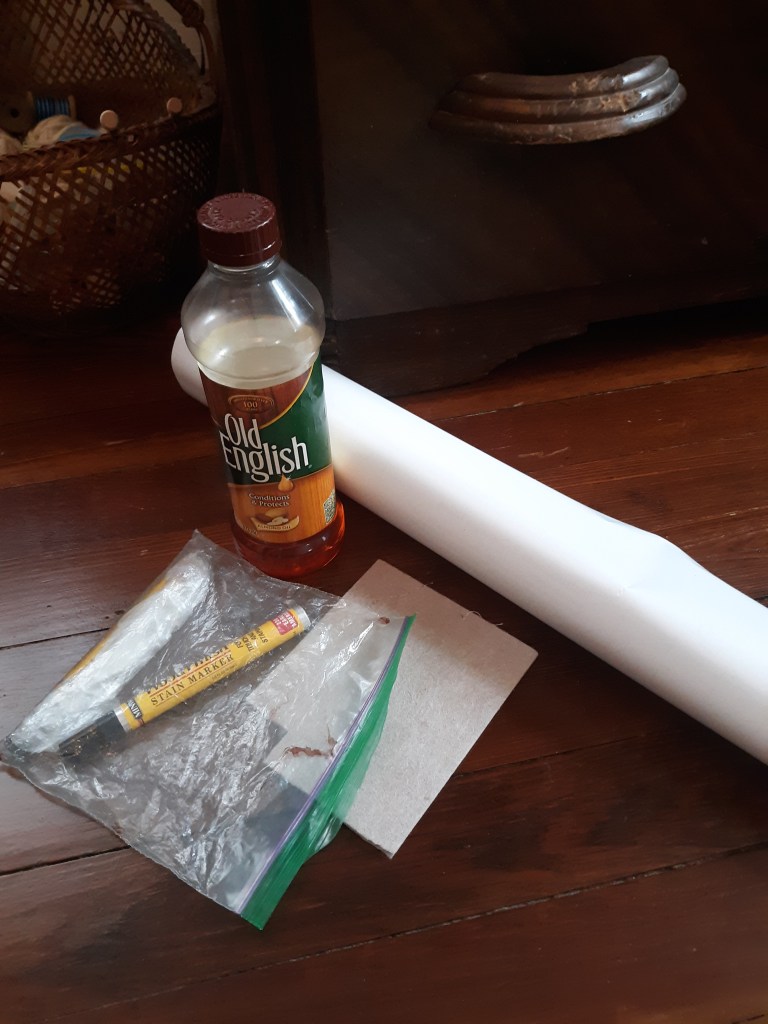
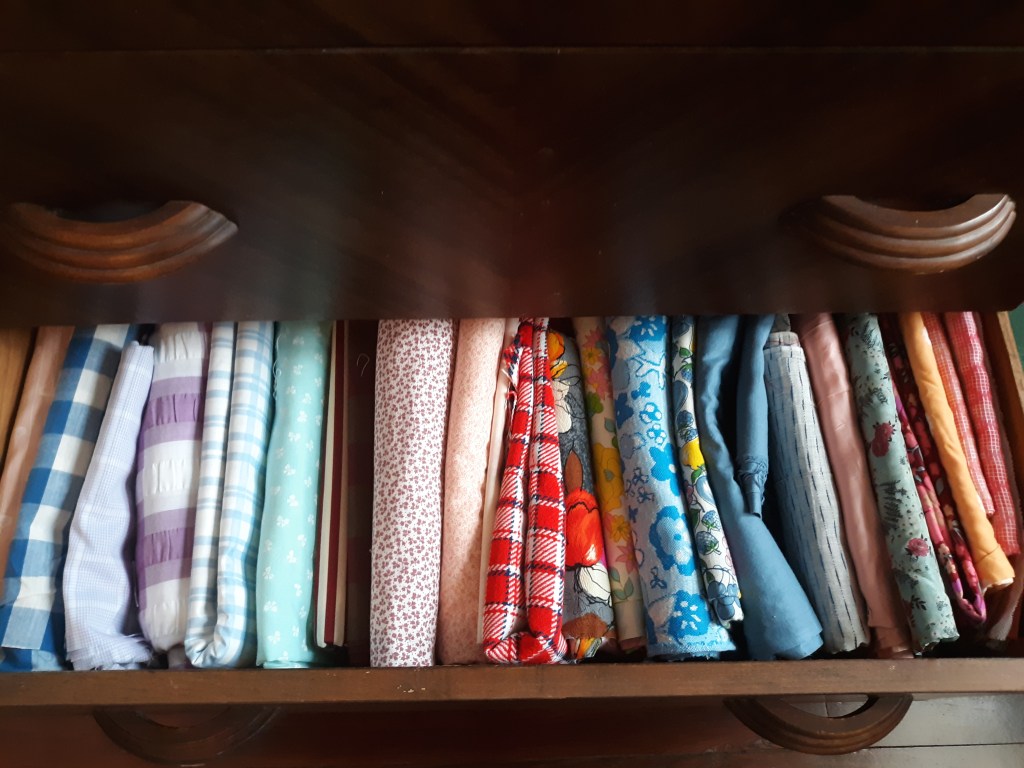
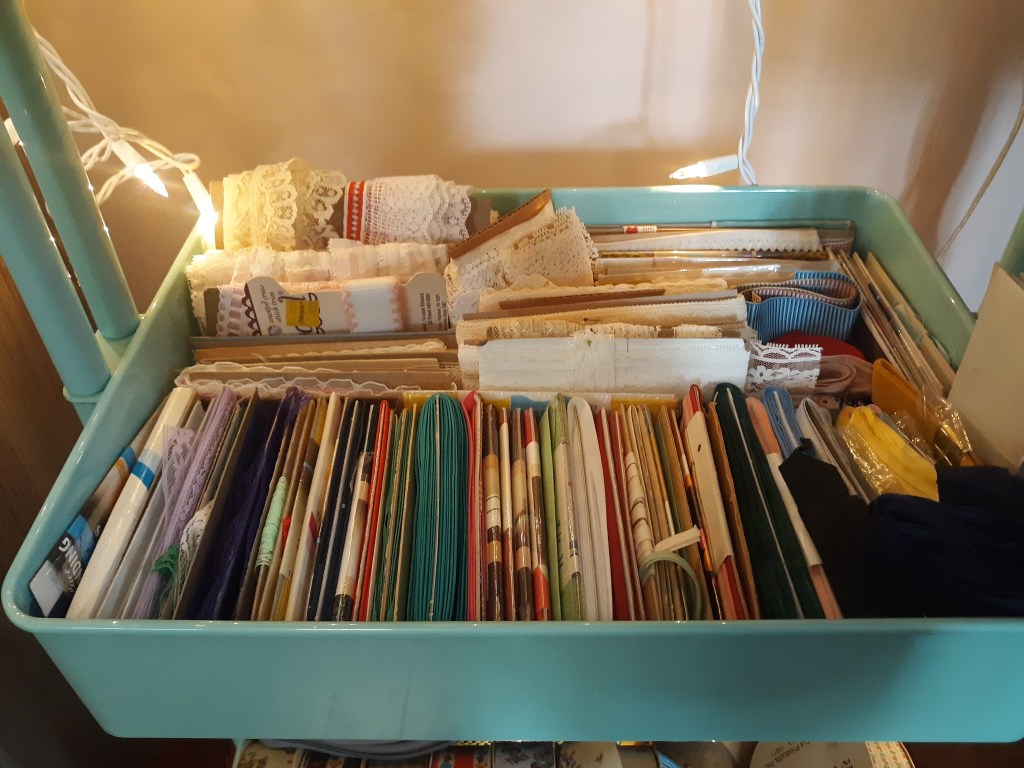
I just managed to squeeze it into my VW Rabbit (the man said it couldn’t be done) and get it up my tiny staircase (my mom said it couldn’t be done). However, the work had only started. For the dresser itself, I cleaned the outside and used wood polish to bring a shine back to it. I touched up a few scratches with a stain pen. I vacuumed the inside of the drawers and lined them with contact paper to prevent fabric snagging. The three bottom drawers are deep so I’m using them for fabric. The top two are shallower. One of the shallow drawers is currently holding fabrics for specific purposes (interfacing, linings, etc.) and one is for notions and embroidery supplies.

In order to make room for it, I did have to move some furniture and consolidate. I took the opportunity for some deep cleaning and purging.
I recently read Marie Kondo’s first book and decided to try some of her tips. I pulled everything out of drawers, off of shelves, and out of bins so that I could see what I had. There were many things I ended up putting in the yard sale pile or throwing away and what was left I was able to better arrange so that the same kind of thing (ex. fabric!) could be all in the same place and was folded so that I could see it all. The process started in the art room but I ended up organizing several other areas of the house when I realized how things in the same category were spread out.

In case you are wondering how closely I followed her method, I’m not animistic so I didn’t thank each item before I disposed of it =), but I was definitely thankful to have such an abundance that I can give away much without being in need. The most useful principles from her method were working on a category at a time (not a room at a time), taking everything out of its “home” to evaluate if you really needed it instead of just scanning the room for things to discard, and how to fold and organize what you do keep so that everything is visible.
Since I usually use fabric that I’ve been given or purchased second hand, I don’t always have a large amount of yardage. I decided before folding and storing each length of fabric to note the width and yardage on a slip of paper which I pinned to the folded piece. This will make it a little easier for me to see which fabrics I can actually use for different projects based on the yardage.
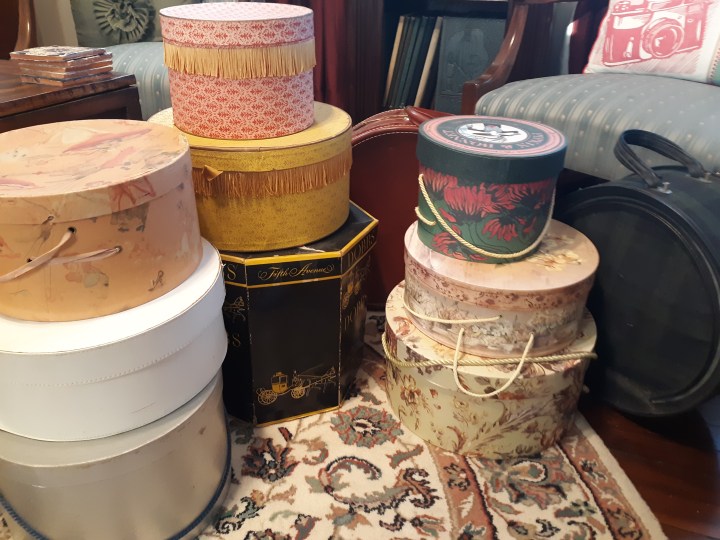
One of the funniest surprises of organizing was realizing how many hat boxes I had. I almost took this picture twice before I remembered another one tucked away. I was also very surprised to find I had an entire satin wedding gown (with a long train) in a bag in a wooden chest!
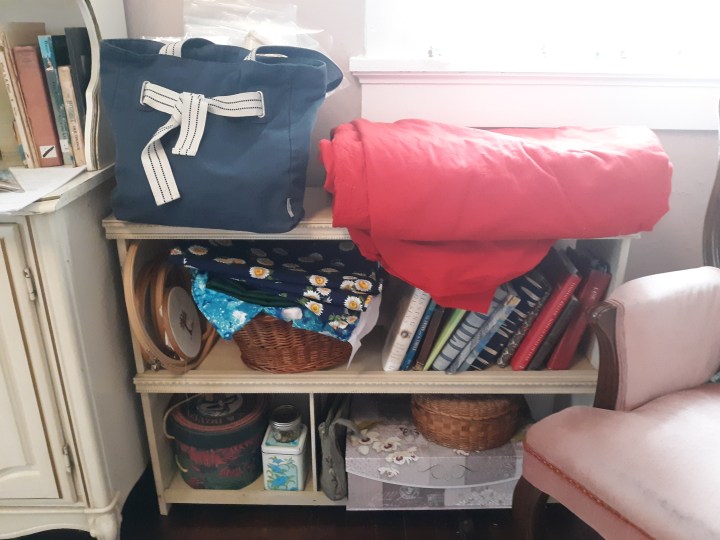
Another serendipitous surprise was that when I had to move the low, open shelf to make room for the dresser, it ended up right by my favorite chair and it had open spaces on the shelves after purging. This means I can put works-in-progress in a designated spot on the shelf when I want the room clean put still want easy access to the projects.
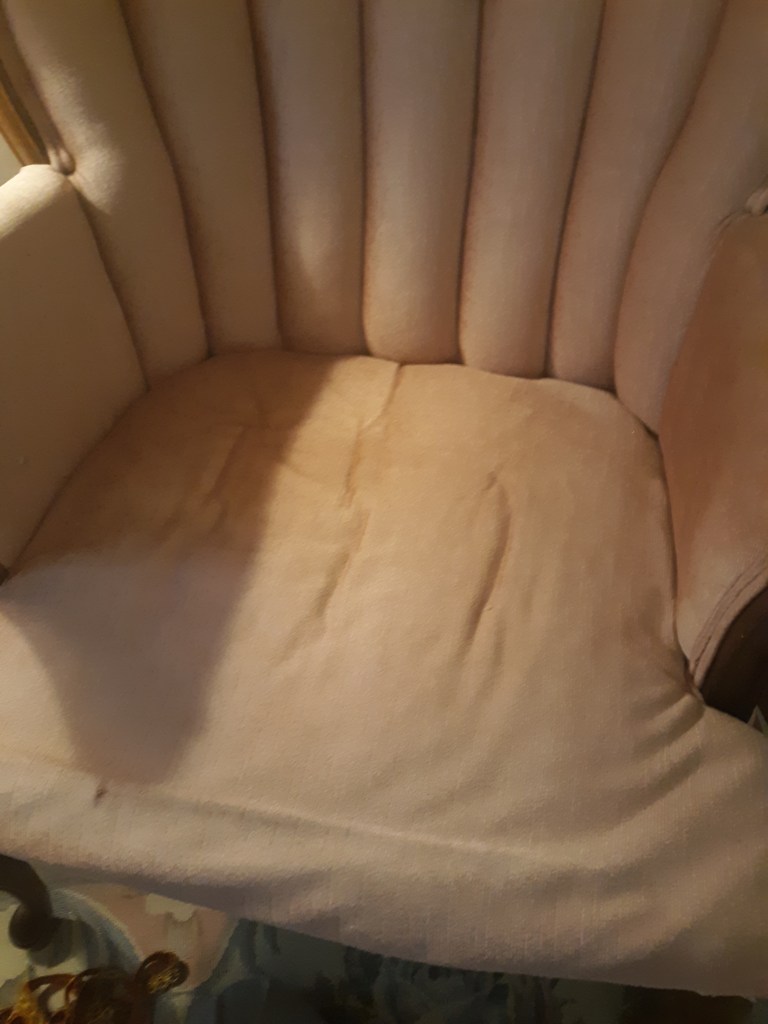
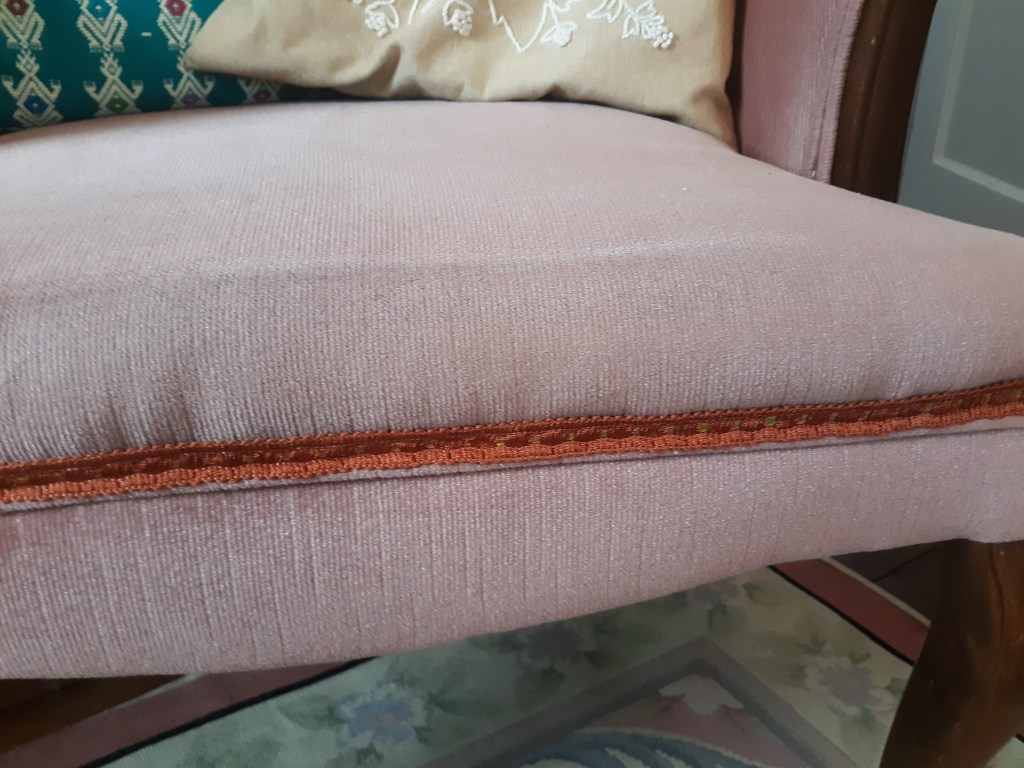
And finally, I made some repairs to my two pink wingback chairs. They had been long due for some attention! The seat cushion had been so worn down that the upholstery was starting to tear on the wood frame of the chair. With my mom’s help, we cut open the front of each chair and added foam and cotton batting. While we had it open, I also ironed a patch underneath the little spot where the upholstery was beginning to tear. Mom used a staple gun to put the upholstery back in place then I hot glued a piece of trim over the staples. The chairs should be good a while longer!


All ready to go! I’m excited to make more art in this space next year.

What good ideas! You must feel 10 pounds lighter! I had the opportunity to do the same thing when I downsized to my current apartment. Now I know where everything is, at least. I still have more stuff than I need, but I have some boxes earmarked mentally for the next downsizing!
LikeLike