
This very rainy week, I had several painting projects to work on. The first was painting the stair rails. Why, you ask? Well, I really wasn’t going to bother painting the stair rails when I bought the house, but after the rooms were painted, the hall obviously needed to be painted, then with the hall walls painted, the trim looked bad, so we painted the trim, and then the sloppy paint job on the stair rails was just standing out like a sore thumb. So essentially, if you give a mouse a cookie….you’ll end up painting the stair rails.
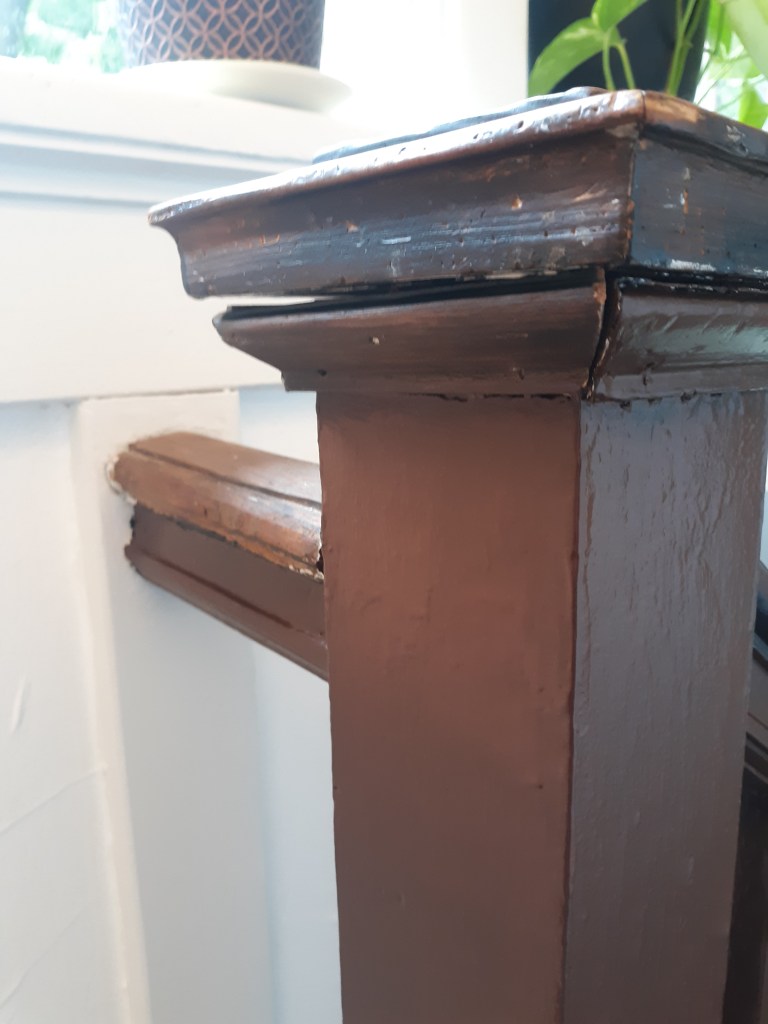
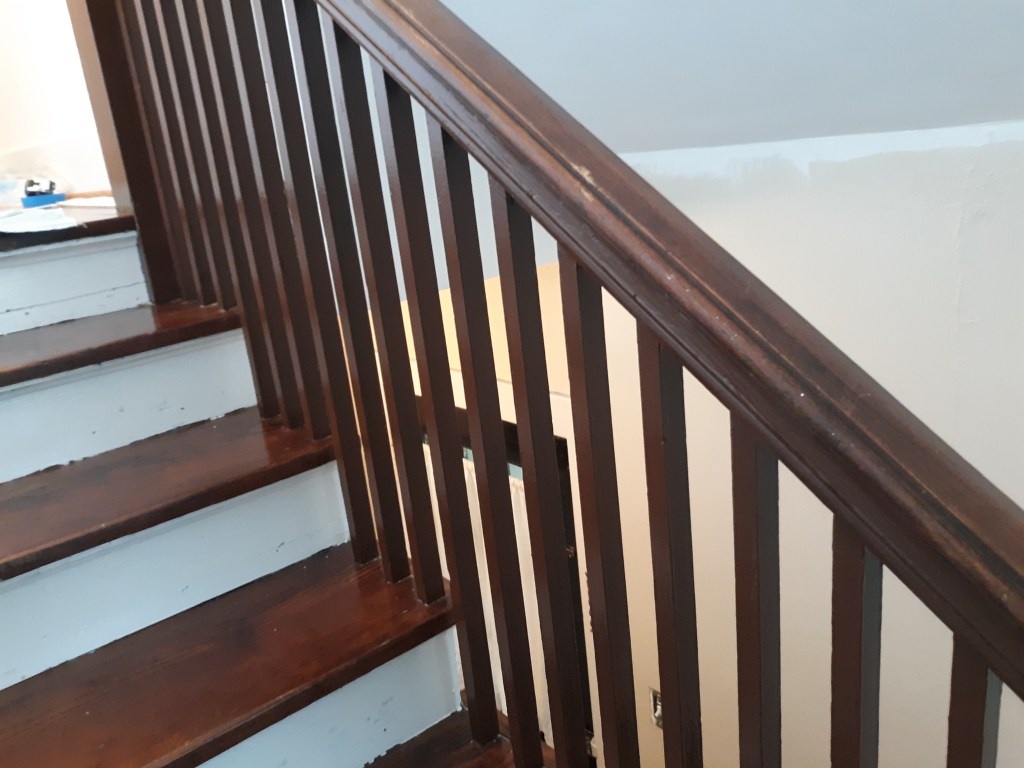
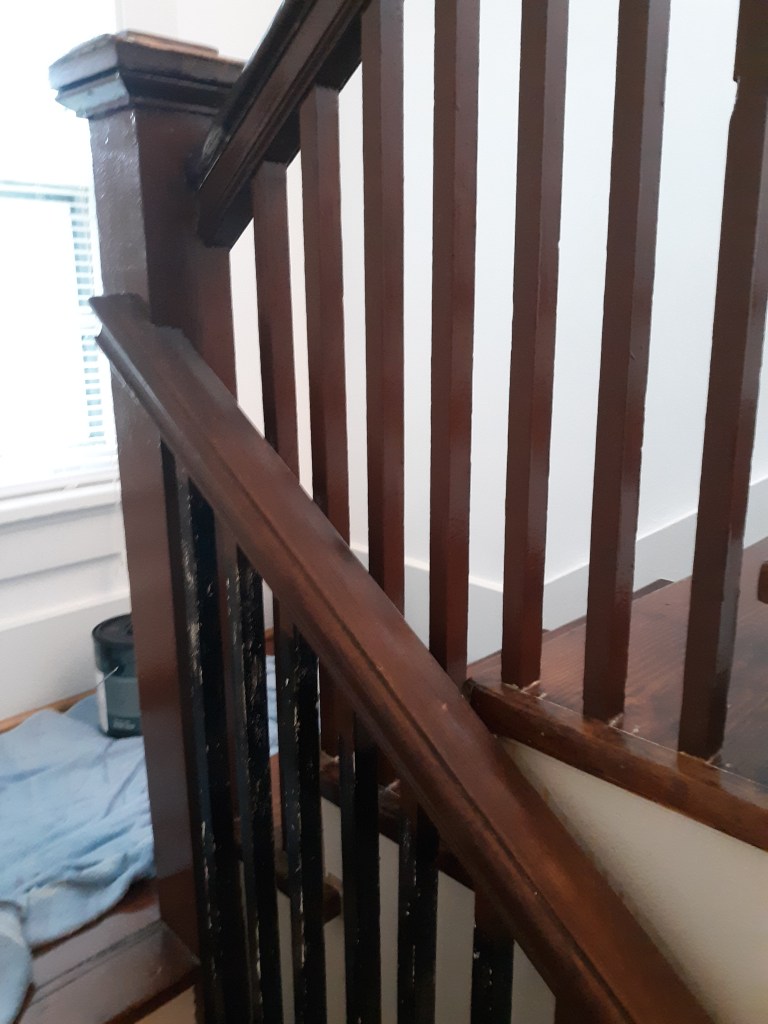
Probably originally stained wood, they’d been painted white, then later painted with a thin layer of high gloss black paint, white paint still showing through in several places. I found the perfect paint color (Chocolate Therapy) to blend in with the wood to give the appearance of being as original as possible.
I scraped and sanded all sides of each rail, wiped them down, and taped off the floor before starting to paint. I used a brush to cut in and then a small roller wherever possible to avoid obvious brush strokes. Two coats of paint on all of it. So far, I’ve only been able to complete the top set so one picture also shows the unfinished lower rails for contrast. We’ll complete the bottom set after the construction in the hall is finished to prevent scratches. Remember if you use painter’s tape to pull it up before the paint is dry. I waited a little too long to pull it up and I’ll have to go back and touch up some areas with a brush where it pulled away the new paint.
The second project was an end table I picked up off the side of the road (barely, it was so heavy!). It was not in good condition and it had a horrible paint job, but I needed an end table for beside my bed and I really liked this one. I could tell it was old because of the shape, the detail of the trim (which matched the “waterfall” pattern in my other furniture), and the little wooden wheels. I also noticed that it hadn’t originally been an end table, but half of a vanity. The tiny little piece of trim on one side gave me that clue. The only way I knew what that piece of trim meant is because my great grandmother had done the same thing with her vanity set (of a similar age), taking it apart to make two end tables.
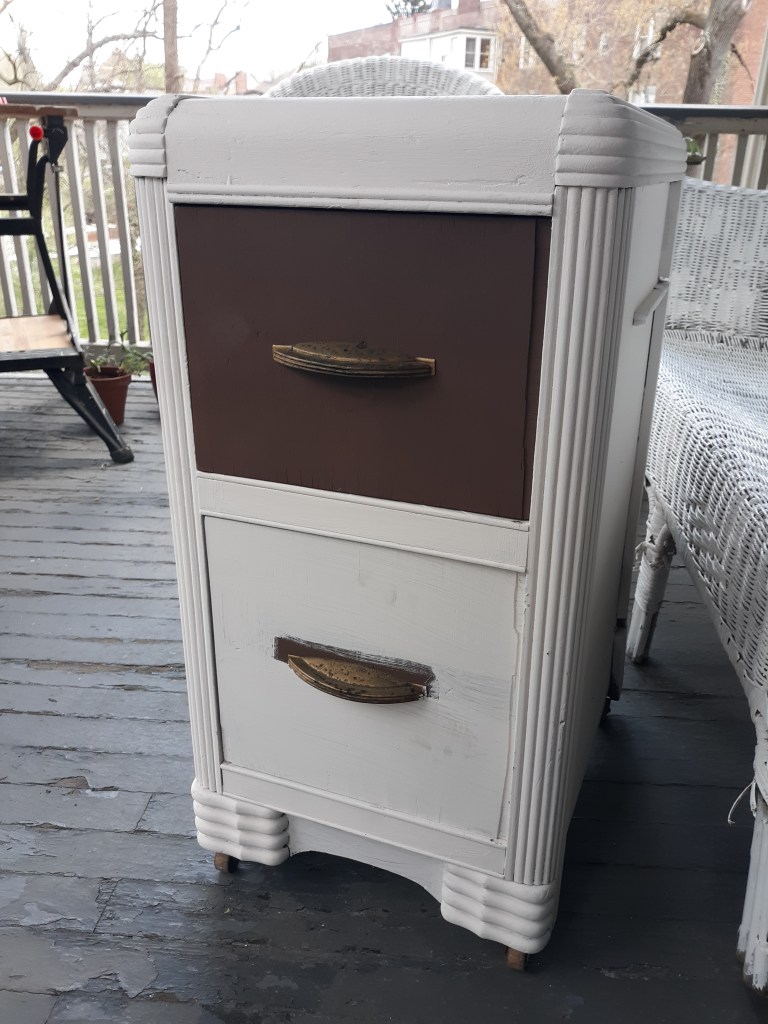

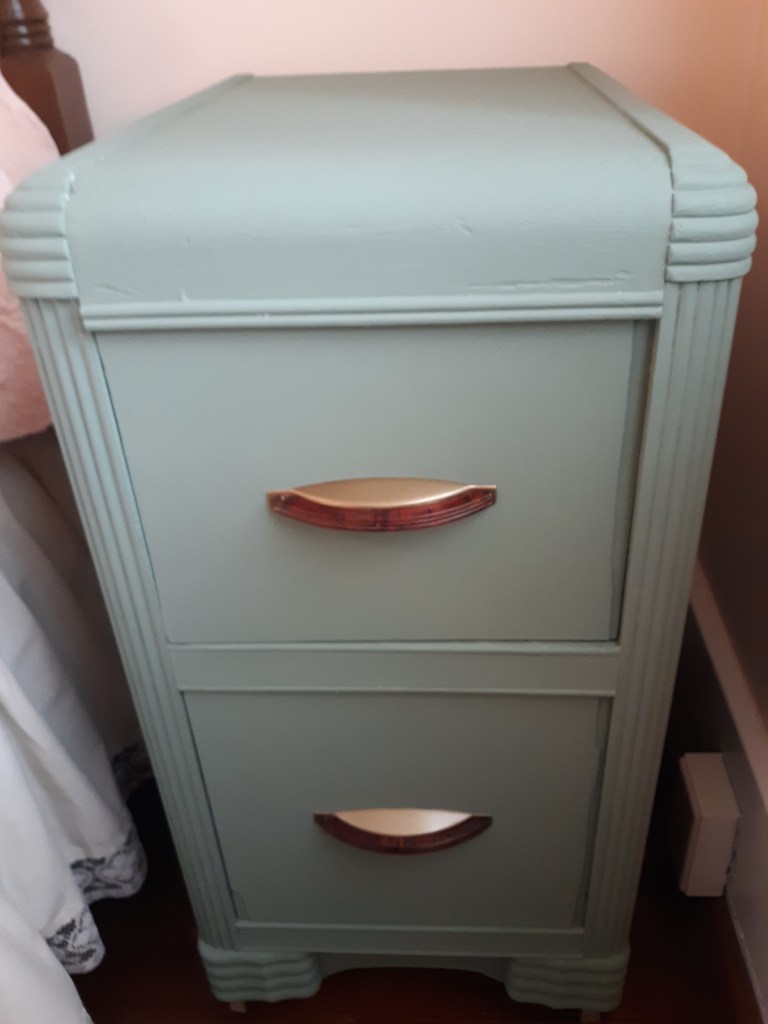
I went with a nice moss green chalk paint. When painting furniture, remove any hardware. Use a small brush to “cut in” the areas a roller can’t reach. Using a small roller for the large sections will reduce visible brush strokes. It will look so much better if you take the time to do two coats.
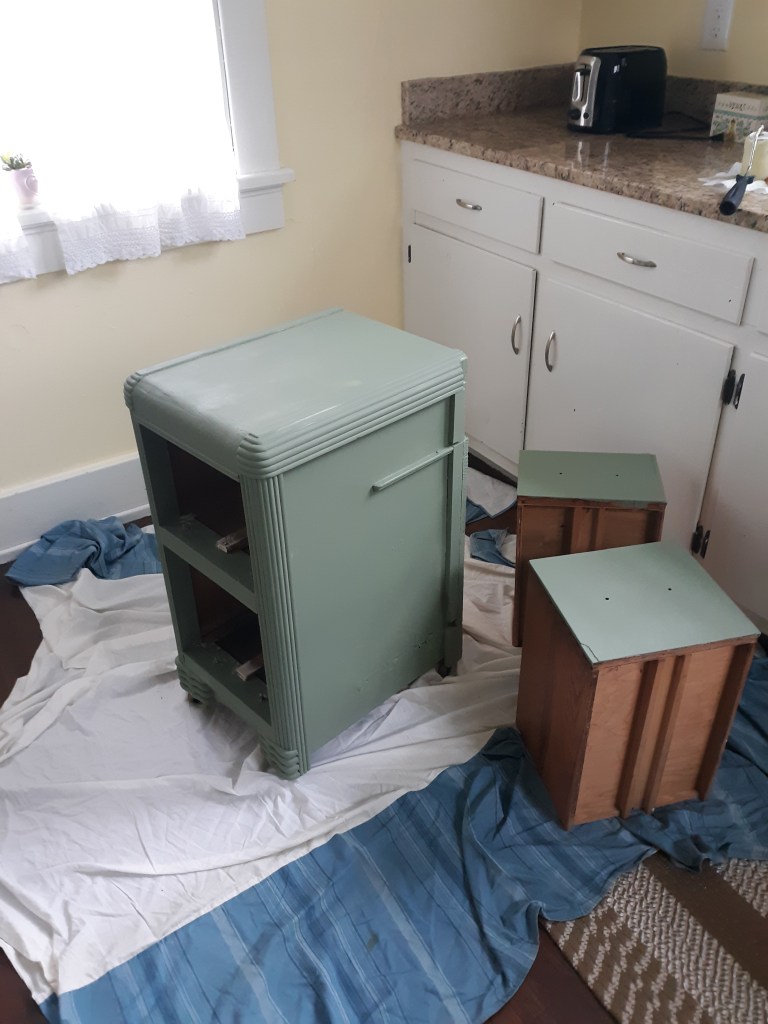
Painting over wooden furniture is kind of a trend right now, but keep in mind that once you paint something, you can’t go back to wood. Take a good look at the piece before painting it for the first time. You don’t want to damage an antique piece. Even if the surface of the wood is scratched, varnish or stain can be pretty effective before resorting to paint.
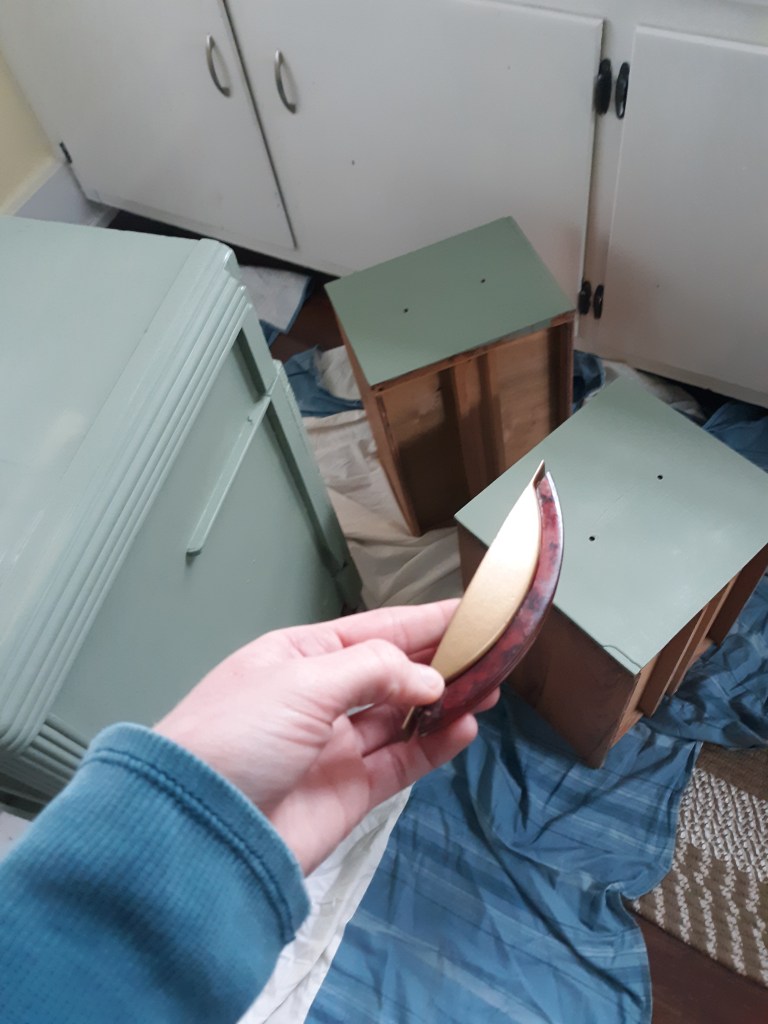
Probably the best part of this project was the handles. I thought the drawer handles were sort of rusty and junky. Actually, they had a beautiful retro shell detail that had been (badly) spray painted over. My mom worked really hard and managed to get the old paint off the shell and repaint the metal part correctly as part of my birthday gift. I love how the shell looks against the green.
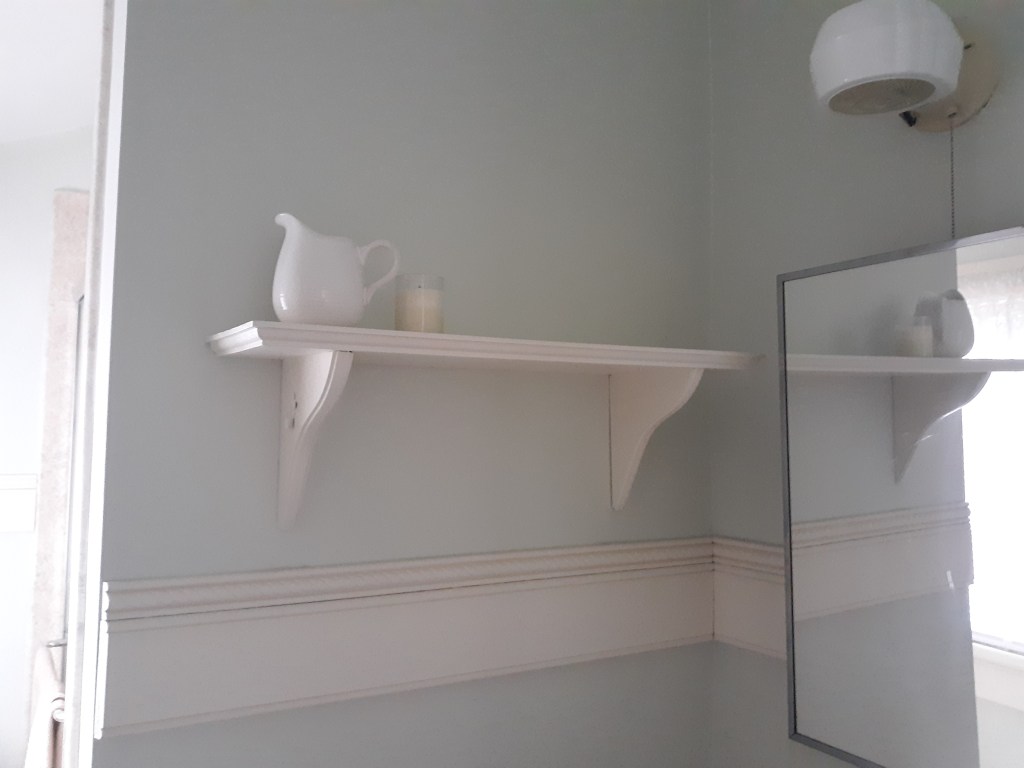
I also painted the trim of a window screen and a little shelf going up in my bathroom (oh, also off the side of the road). I love how these projects turned out and was happy to cross a few more things off my list on a rainy week.

You are so talented! I love what you’ve done!
LikeLike